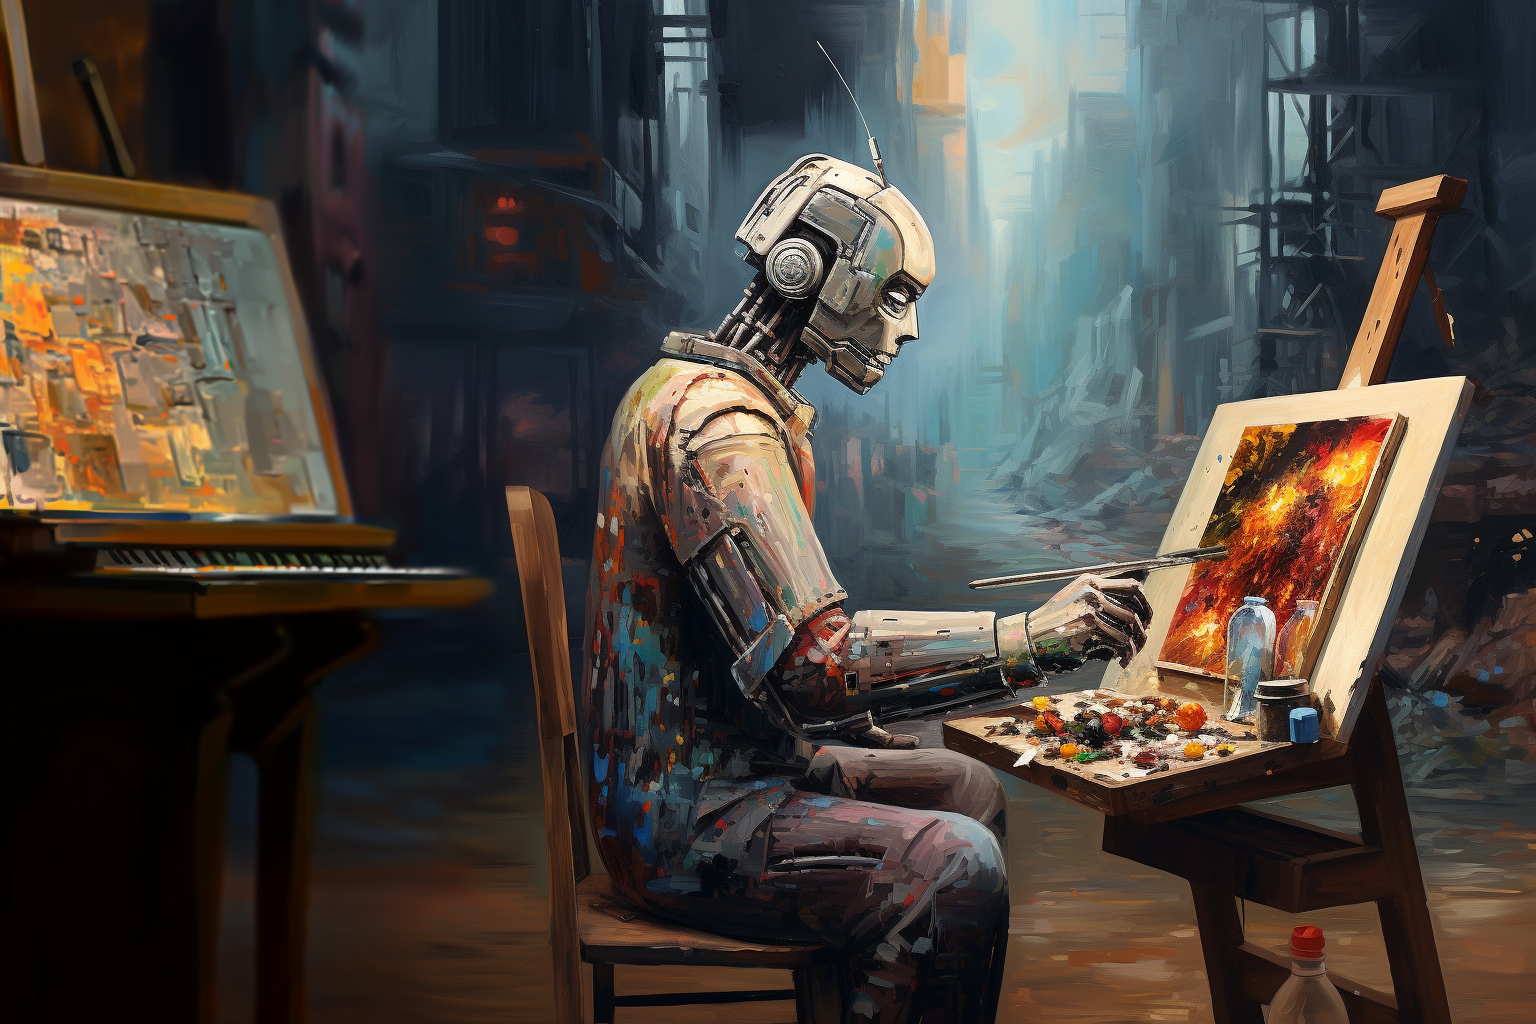
Creating Images
Here we will briefly explain how to create and edit images in a chatbot@chat_ai_tg_bot. and on website.
Creating images in a chatbot
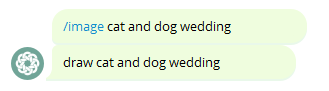
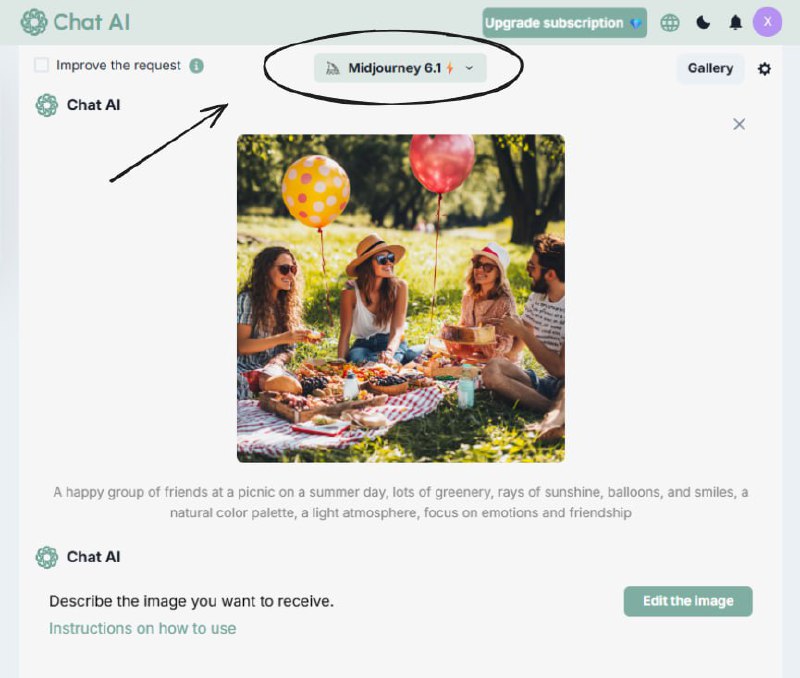
To create an image by description in the chatbot, send a message “/image description” or “draw description”. Example: “draw a cat and dog wedding”. Works in both Russian and English.
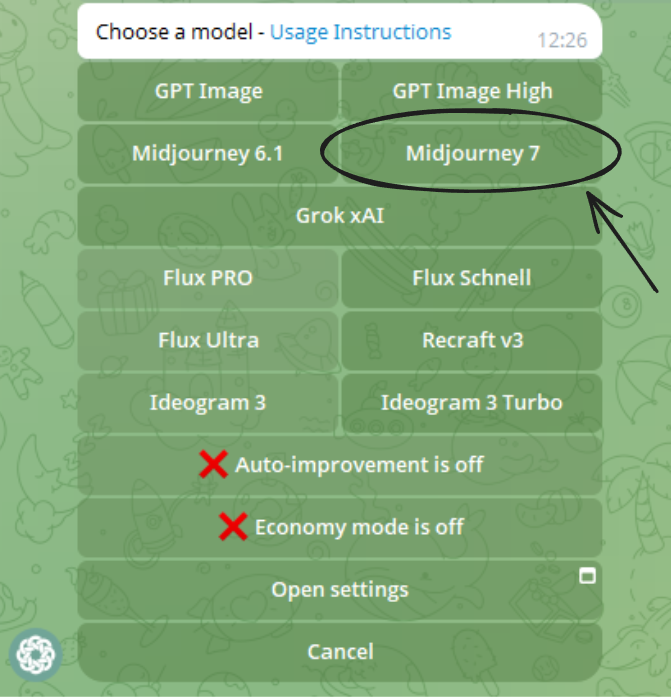
We will look at the most advanced model Midjourney 7.
▶ Send a message
▶ Select model
▶ After selection - 4 result with buttons.
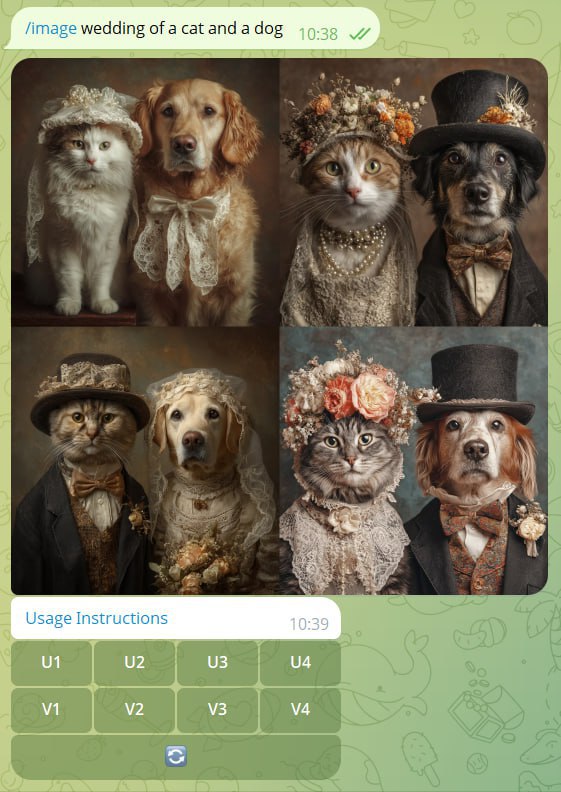
Further work with buttons (scaling, changing) is similar to the functionality on the site - see the instructions below. ↓
Creating images on a website
To create an image on the site, go to the chat 🖼️ Create an image
▶ Select model
Write a message, example: "cat and dog wedding".

▶ Send a message
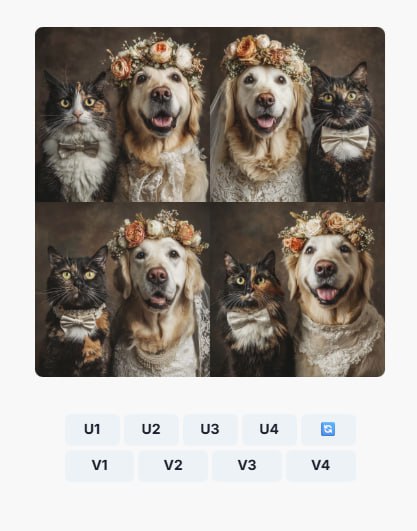
After sending the message, you will receive 4 ready-made images with buttons.

By pressing on 🔄 - the bot will send another 4 photographs by the same request.
By pressing the button V1, V2, V3 or V4 - 4 more similar images will be created depending on the selected number: 1 - the first photo is on the top left, 2 - on the top right, 3 - on the bottom left, 4 - on the bottom right.
 Result of pressing V1
By pressing the U1, U2, U3, or U4 button, the bot will send a specific photo and additional actions.
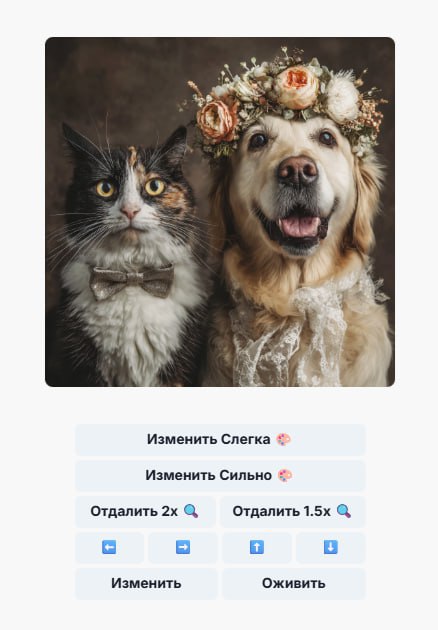 Result of pressing U1
Here you can get new similar images by clicking “Change a lot 🎨” or “Change a little 🎨“. You can also expand the image on all sides by clicking “Zoom out 1.5x 🔍”, “Zoom out 2x 🔍” or just on one specific side by clicking “⬆️⬇️⬅️➡️”.
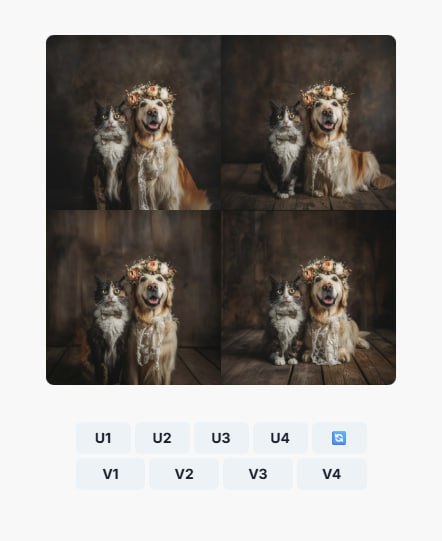 The result of pressing the "Zoom out 2x 🔍" button
Editing Images
You can edit or create similar images using your existing photos or graphic works.
To do this, simply send an image with a description to the bot or to the site.
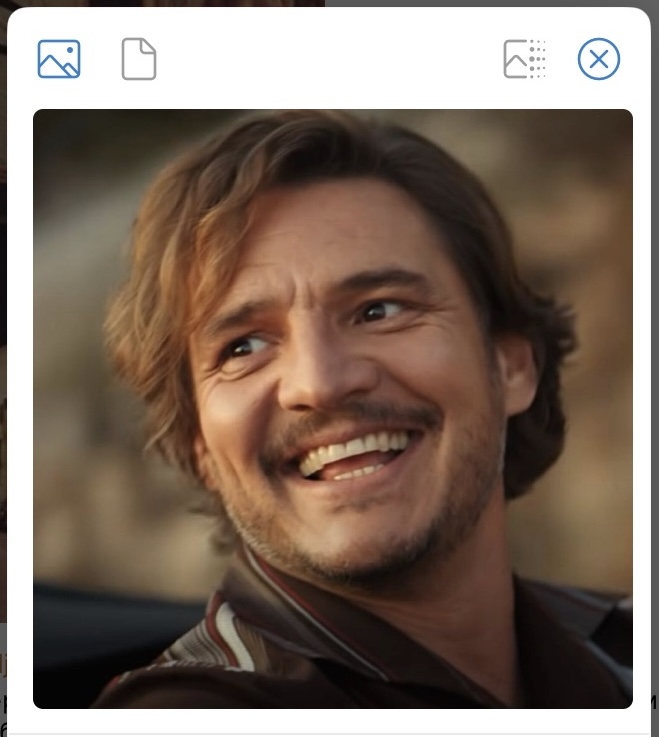
▶ Sending an image with a description
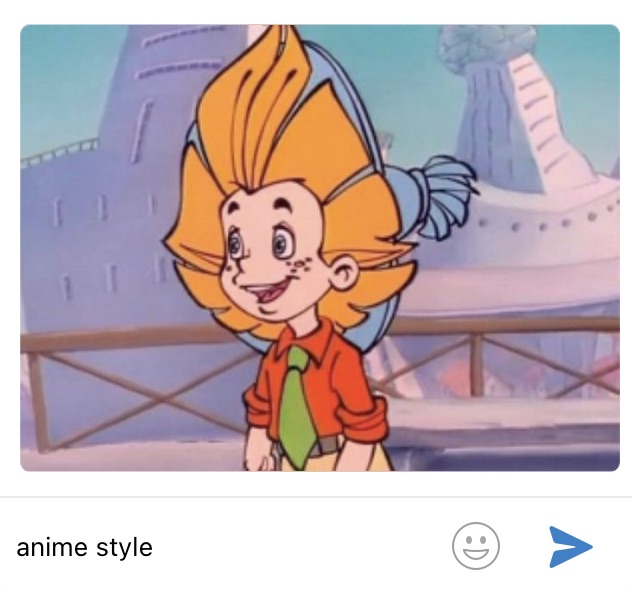
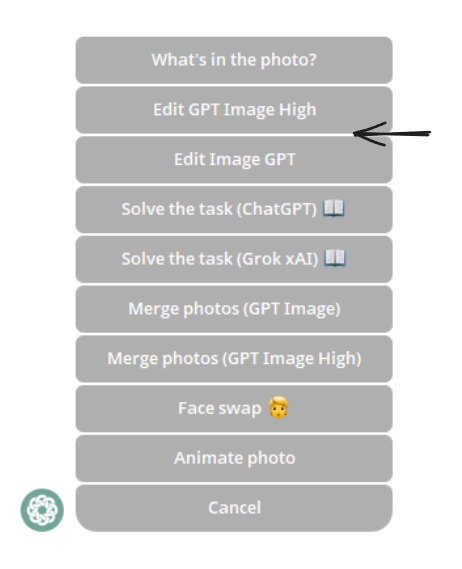
▶ Change image using GPT Image or GPT Image High
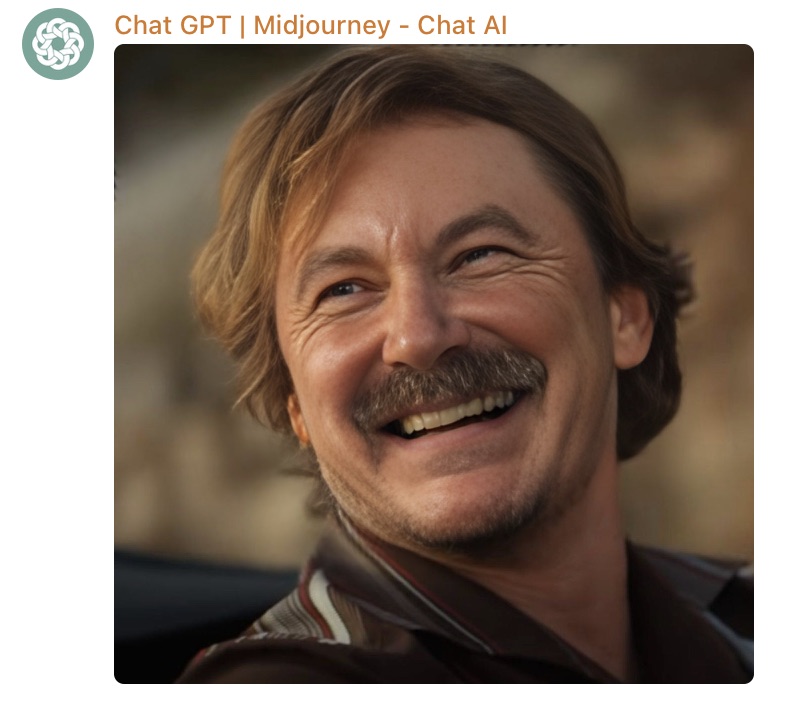
▶ Query result - Dunno in anime style
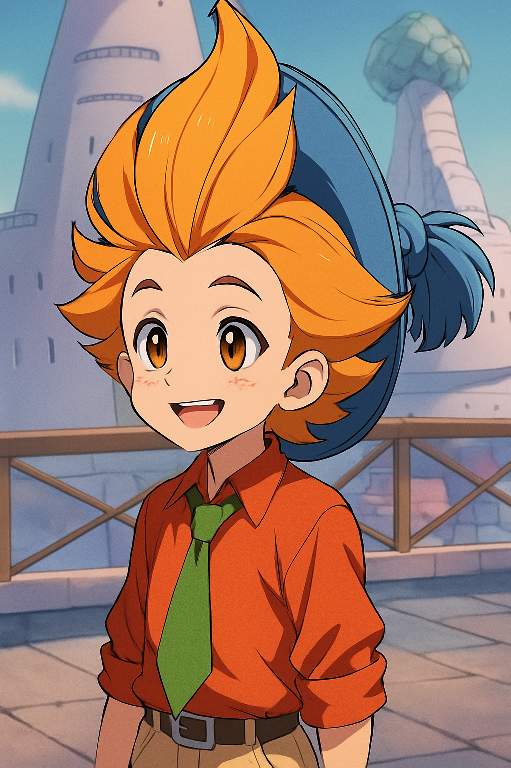
Further, you can also edit and enhance the obtained images using buttons.
Face swap
You can upload your photos and any other face you want to use.
Send your face that you want to use to the bot. And choose Face swap
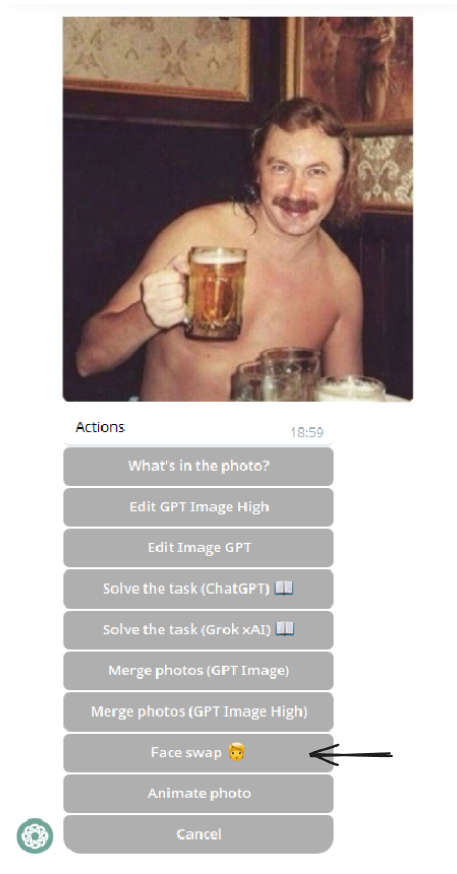 Face swap
Afterwards, you need to upload a photo where your face will be placed.
 Second photo
A few seconds — and your photo magic is ready.
 Result
Or upload to website your face that you want to use and the photo where your face will be placed, then select “Switch Face”.
 Face swap
And here is the result.
 Result
Improve Request
Use the request auto-improvement button in the bot.
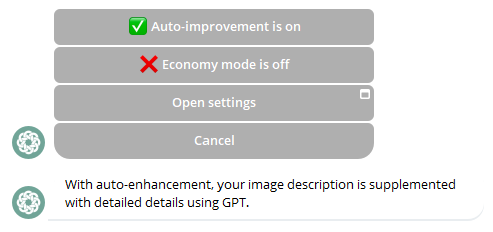 Auto-improvement enabled
Or the Improve the request button on the website.
 Improve the request
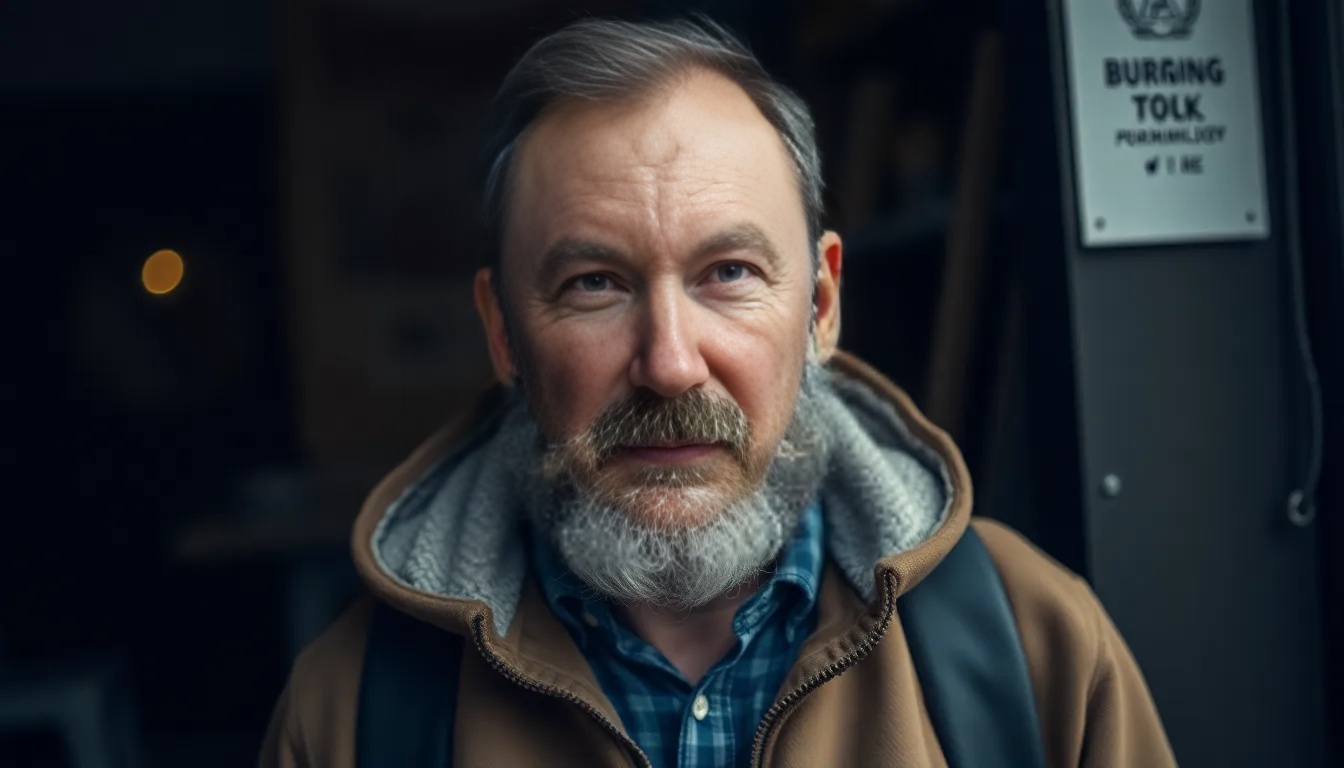
Our algorithm will add a more detailed description, styles, and the needed format for your request. You will receive much more high-quality photos.
 Fisherman on a boat
Description
The bot works best with simple, short sentences describing what you want to see. Avoid long lists of requests.
Incorrect: “Show me a painting of many blooming poppies, make them bright, saturated oranges, and draw them in an illustrated style with colored pencils”
Correct: Bright orange poppies, drawn with colored pencils
It’s better to describe what you want rather than what you don’t want. If you ask to organize a party “without a cake”, your image will likely include a cake. If you desire to ensure that an item is not present in the final image, try using the advanced prompt with the --no option.
Incorrect: “Party without cake”
Correct: Party --no cake
Size
If you want to get an image of a specific size, you can specify it in the description through the command --aspect.
Example:
Party --aspect 4:3
Party --aspect 16:9
Party --aspect 1920:1280
Links
If you have a link to an image, you can also add this link to the description.
Example:
“/image link to the picture “anime style”
Access
Creating images is available by subscription.
You can purchase a subscription by sending the command /subscribe.

